
Connecting to a remote server

How to use SSH to connect to a remote server
We will do most of our bioinformatics analyses on a remote server,
so we need to know how to connect to it.
We can do it using our terminal emulator (and the ssh command),
or using a feature rich environment, like Visual Studio Code.
In general we need to know:
- The address of the server (can be an IP, like 120.29.128.2, or a domain name, like server1.mycompany.com)
- Our username (the one we use to log in) on the remote machine, which can be different from the one we use on our local machine
- An authentication key, which can be a
- password, which we type every time we connect (not recommended), or a
- key file, which is seamlessly sent to the remote machine and used to authenticate us (recommended)

Our key file, and how to generate one
Authentication using a key file is the recommended way to connect to a remote server. We need to have two files:
- Our private key, which we keep on our local machine and must be kept secret: it’s the actual file that will act as a password to unlock the remote server
- Our public key: this is the analogue of a lock, which recognises the key and allows us to unlock the remote server. We need to add this information on the remote server (only once), and this will allow us to authenticate ourselves using the private key.
To check if you already have a key file, check if you have a .ssh directory in your home:
1

ls -al ~/.ssh
If the output contains a file named id_rsa or id_dsa, you already have a key file. It’s associated public key will be in a file with the same name, but with the extension .pub (e.g. id_rsa.pub or id_dsa.pub).
If you don’t have a key file, you can generate one using the ssh-keygen command:
1
2
3

# When asked for a passphrase, you can leave
# it empty (just press enter)
ssh-keygen -t rsa -b 4096
![]() the command will offer you to add a passphrase (not necessary, and if you forget it the keyfile will be unusable), and the path where to store the files (you can leave the default, which is ~/.ssh/id_rsa).
the command will offer you to add a passphrase (not necessary, and if you forget it the keyfile will be unusable), and the path where to store the files (you can leave the default, which is ~/.ssh/id_rsa).
Now check the files in the .ssh directory again:
1

ls -al ~/.ssh
you should see two new files: id_rsa and id_rsa.pub:
1
2

-rw-------  1 telatin  seqfu  3381  9 Nov 08:55 /Users/telatin/.ssh/id_rsa
-rw-r--r--  1 telatin  seqfu   742  9 Nov 08:55 /Users/telatin/.ssh/id_rsa.pub
![]() Using
Using cat, and wc, check how the private key and the public key are different. You will need to use the public key to add it to the remote server:
send it to the administrator of the server or paste it in the cloud interface.
How to log in from a terminal
If you have a terminal emulator (e.g. using MacOS or Linux), just type:
1

ssh username@address
where username is your username on the remote server, and address is the address of the server (e.g. server1.mycompany.com).
If you have a password login, the password will be asked interactively. You will need to type it but ![]() you
will not see it on the screen (not even asterisks). Just type it and press enter.
you
will not see it on the screen (not even asterisks). Just type it and press enter.
If you have a key file, it will be sent transparently (assuming it’s ~/.ssh/id_rsa), and you will be logged in. If the keyfile
is on a different location, you will need to specify it:
1
2

# If your keyfile is in ~/.ssh/mykey
ssh -i ~/.ssh/mykey username@address
After successfully logging in, you will see a different prompt: you are now effectively a different user on the remote server. You will see, with ls, the files that are on your remote home, not the local files
Using Visual Studio Code
You can use Visual Studio Code to connect to a remote server, and use it as a full featured environment.
See VS Code documentation on how to do this, but if you use Linux or MacOS it will be straightforward.
- Install the Remote - SSH extension
- After installing it, you will get a new Remote server icon on the left menu
- Click on the remote servers icon on the left bar, and click on the + button
- Type the command you would issue like
ssh username@addressand save the connection
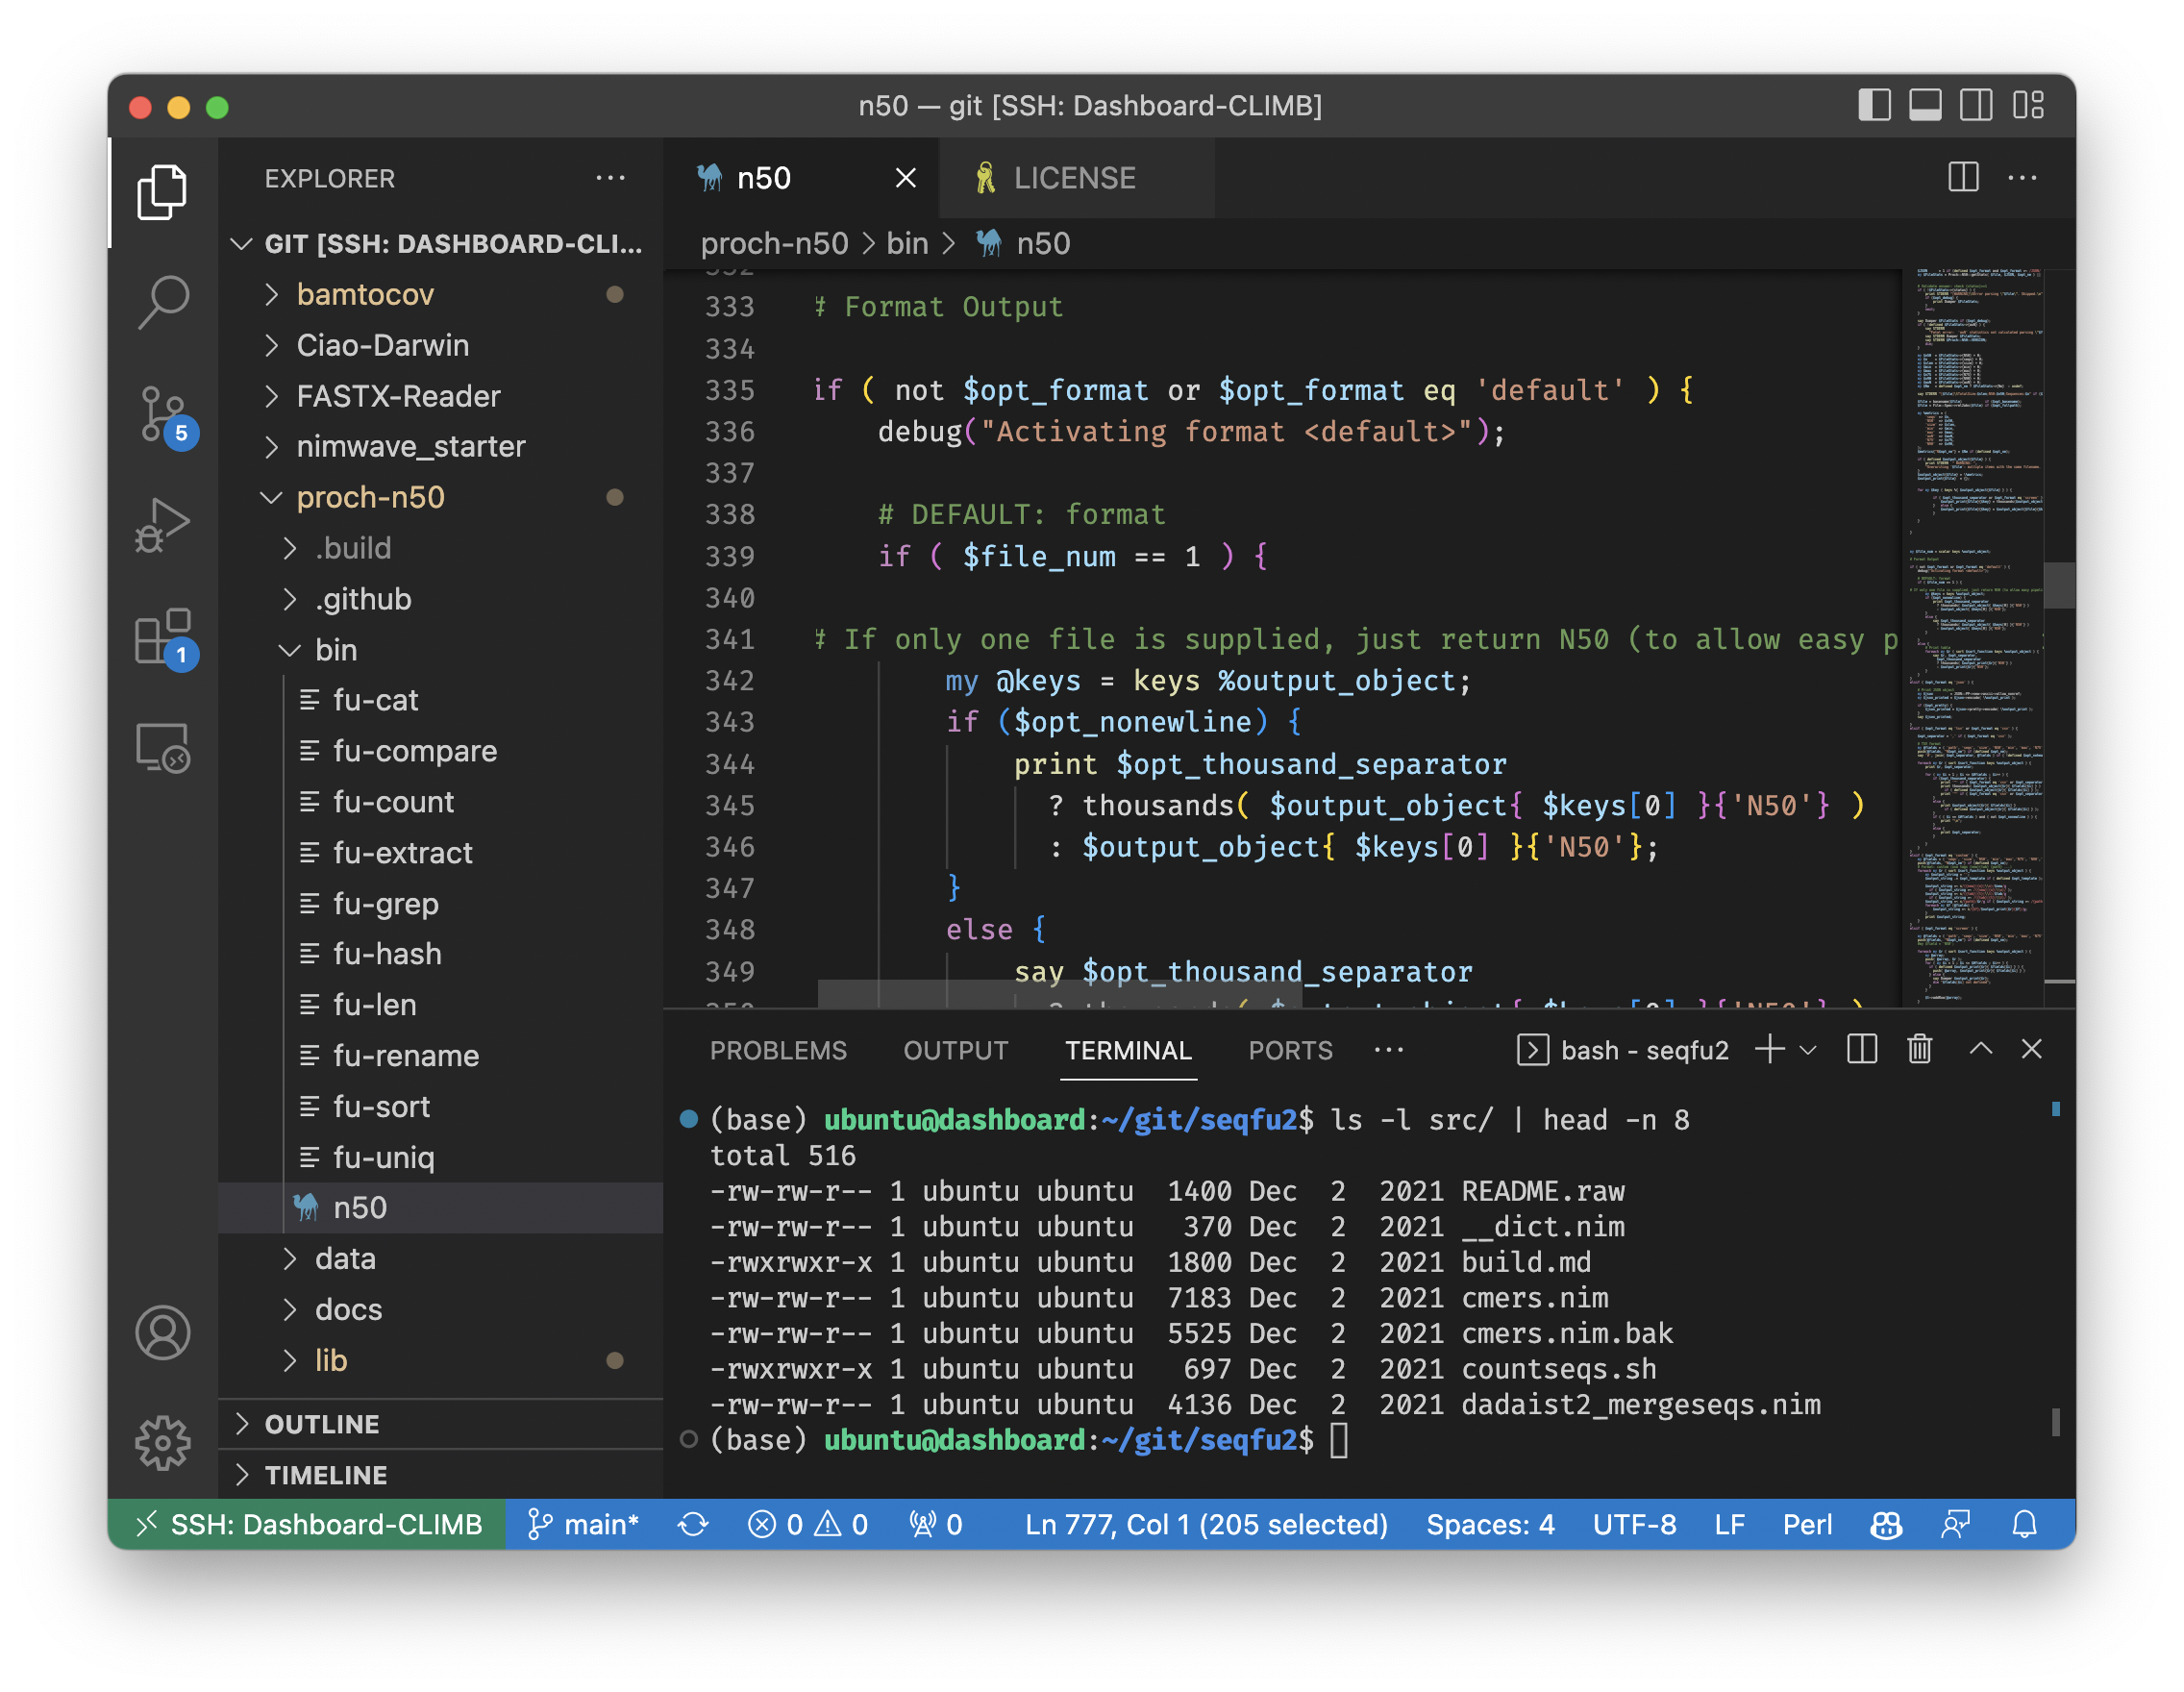
Now you can connect to the remote server, and use it as a full featured environment. You can open files, edit them, and save them on the remote server.
This allows you to browse the filesystem using the side pane, and open a text file (and edit it) using the editor. You can also use the terminal emulator, which will be connected to the remote server, executing the programs you have there and not the one you have locally!